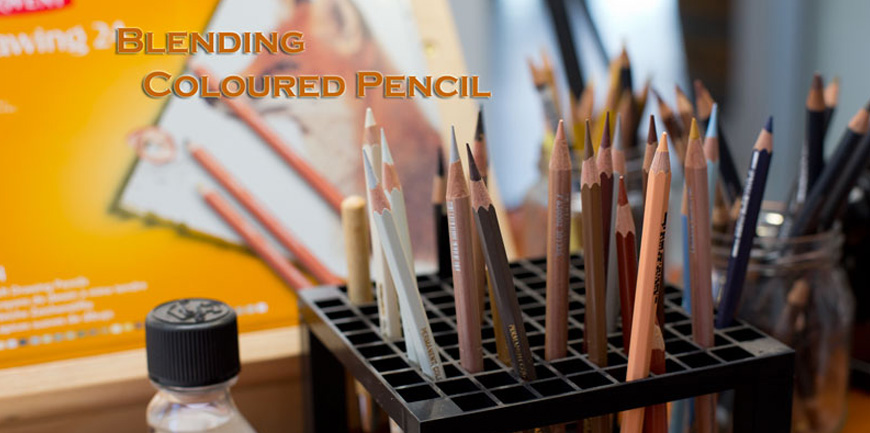
Coloured Pencil seems like a medium anyone should be able to master quite easily. It is – aside from crayons – most probably one of the first mediums you were introduced to as a child. It’s simple right – buy a set of 120 colours (how many can one possibly need anyway), get a good quality paper and TADA! You are all set to be a coloured pencil genius.
Or not.
Coloured pencil is actually quite a challenging medium and believe it or not, but the technique involved is every bit as intricate as watercolour or oils. As with many other mediums, the secret in creating depth in colour involves a lot of layering and blending – and then some more layering and blending. The idea is to work the pigment into the tooth of the paper and ‘mix’ the colour to create new and/or deeper colours.
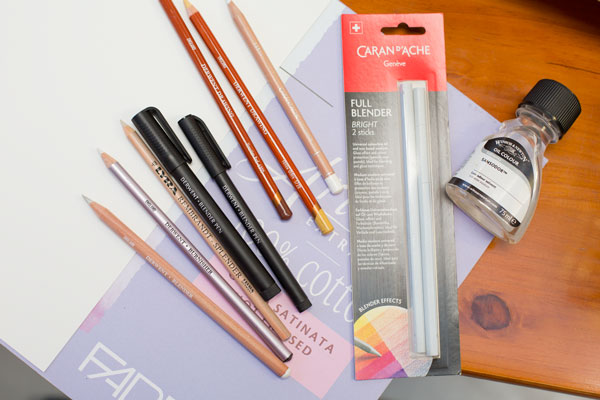
But how do you blend coloured pencils? You’d be surprised to find out that there are a couple of tools you can use to make the blending process a little easier.
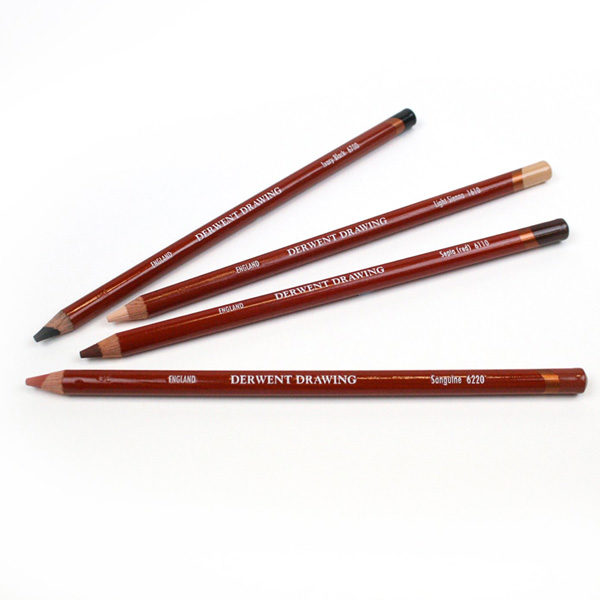
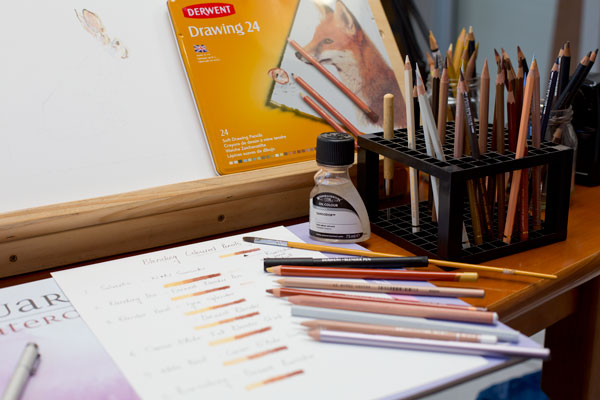
For this post I used two of my Derwent Drawing Pencils – they are nice and chunky and lay down a lot of pigment fast as the lead is quite soft and waxy. Different types of coloured pencils will yield different results. A soft wax-based pencil might blend easier than an oil-based pencil with some of these tools, or vice versa. In general, when creating I use a mix of different pencil brands and therefore use wax- and oil-based pencils together.
My paper of choice has always been the Fabriano Artistico Hot Press 300gsm Extra White. It’s a sturdy watercolour paper that accepts many layers of pencils – the key is to start with minimal pressure and build up your pigment in layers.
Solvents
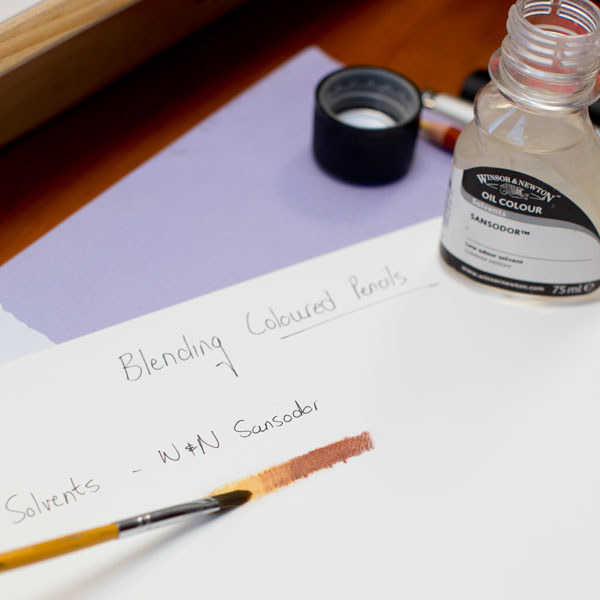
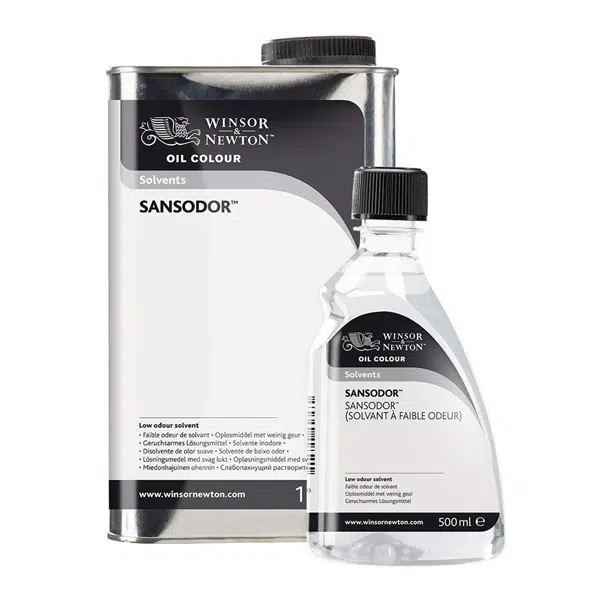
Coloured pencil ‘lead’ (a misnomer as there is no lead in it!) is just a blend of pigment and binder and as mentioned is either wax or oil-based. Solvents work by dissolving the binder and blending the pigment. When blending with solvent there are a couple of things to remember though. It is really important to firstly have a fair amount of pigment on your paper or the result will be a wishy-washy shade of nothing. A couple of layers are necessary and they’re easily blended with a soft paintbrush. Make sure your paper can accept wet media as other papers might buckle and be careful not to use too much solvent. A little does go a long way. Not all solvents are created equal – I’ve tried and tested a few and my favourite by far is Winsor & Newton Sansodor. It’s a low odour mineral spirit, not oily and readily available. I have encountered a few other brands that left my paper with an almost oily residue and they took ages to dry. And that is another important note – be patient. They dry rather quickly but attempting to apply more layers over the still-wet paper will likely damage the tooth. In coloured pencil, it is important to protect the tooth of the paper as that is what grips your pigment. This is my favourite method of blending larger pieces of work. Its more difficult in detailed areas as the solvent can creep a bit and colours will blend into one another – so also clean the brush before moving from a dark to light area. In my accompanying test, I used the brush and made another line next to the coloured pencil – and you will notice a bit of colour transfer. When used correctly the advantage of mineral spirits is that one can apply many many layers of pencils without damaging the precious tooth of the paper and thus achieve a very deep colour.
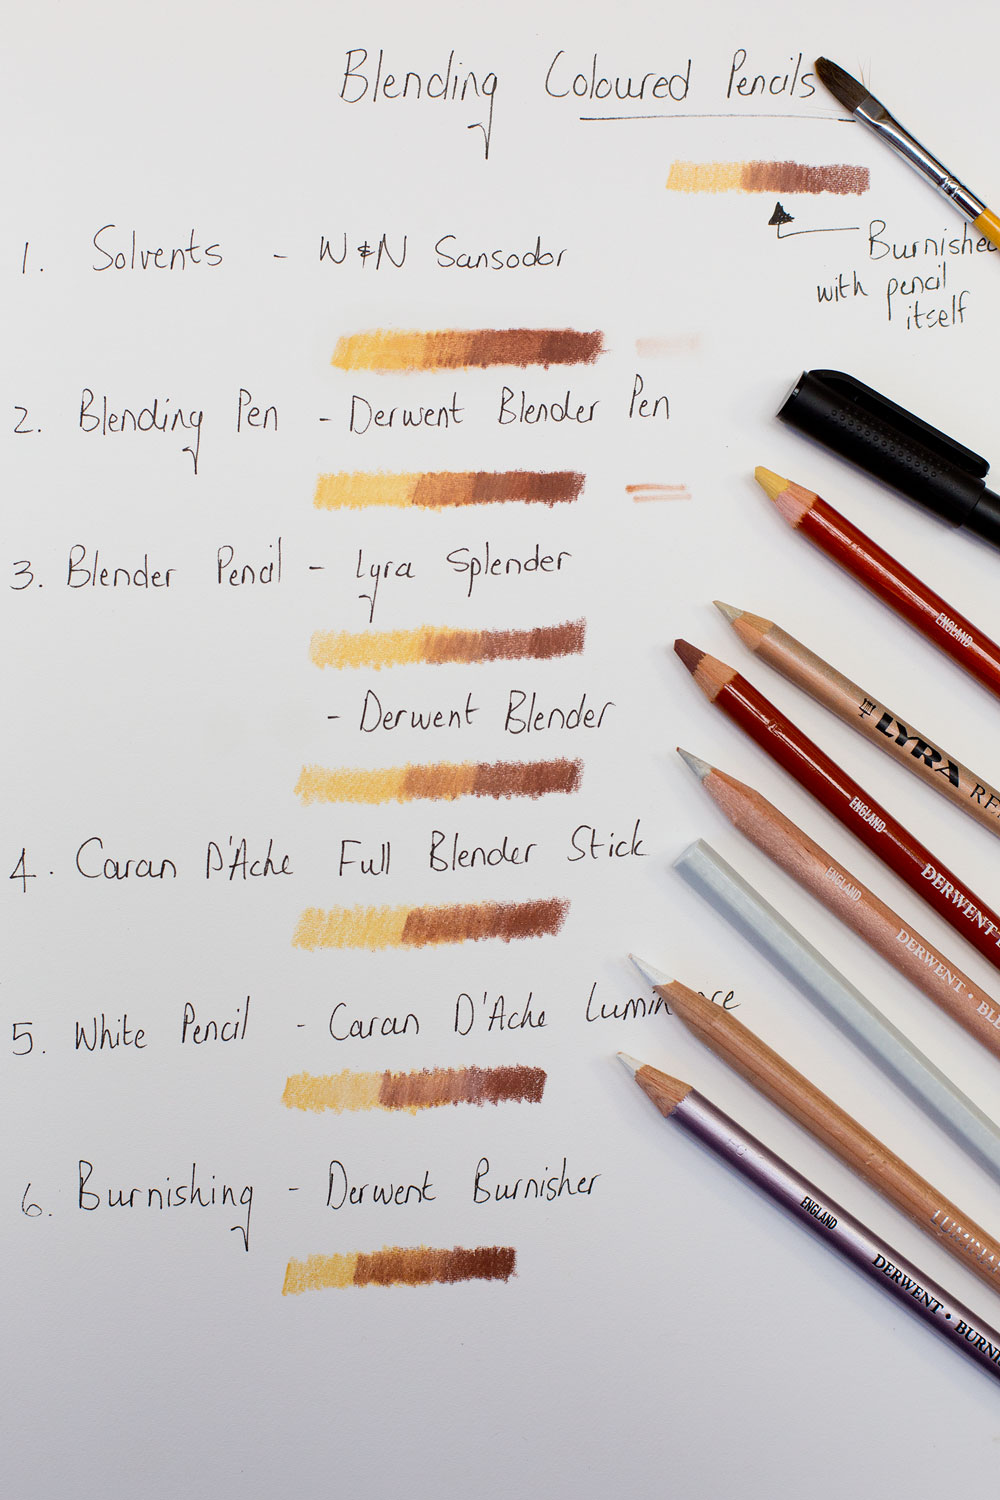
Blending Pens
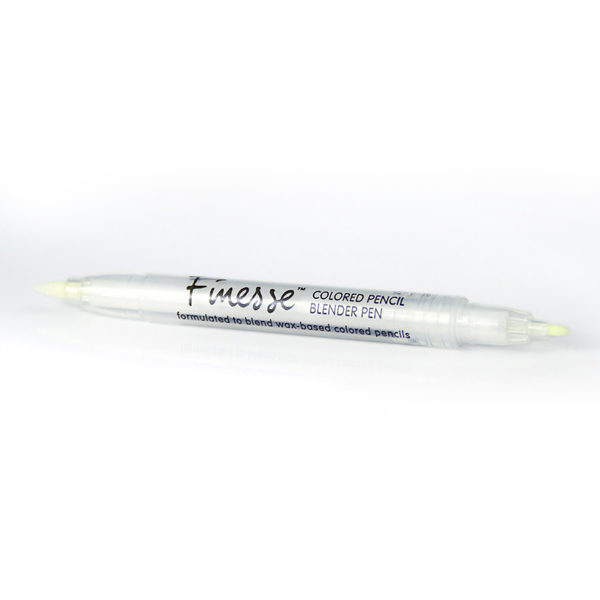
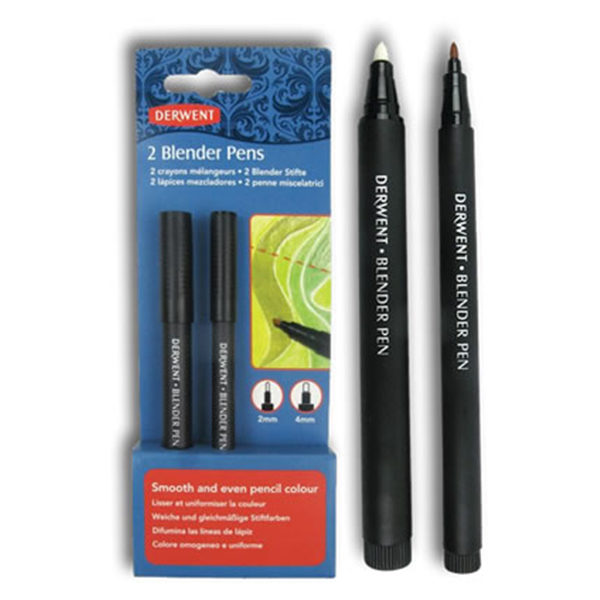
I came across the Derwent Blender Pens and grabbed a packet to test out and have to admit that I was quite impressed. The pens contain a solution similar to a mineral spirit and blends beautifully. Where solvent sometimes tends to dull your layer a bit, I was surprised to notice that the pens actually liven up the colour. As the pens are available in a packet of two sizes – a fine and a slightly chunkier pen – it does give the option of blending fine detail quite easily. Watch out though as you also do need to clean the barrels or colour transfer will occur. My test revealed that they transfer quite a bit of pigment.
Blender Pencils
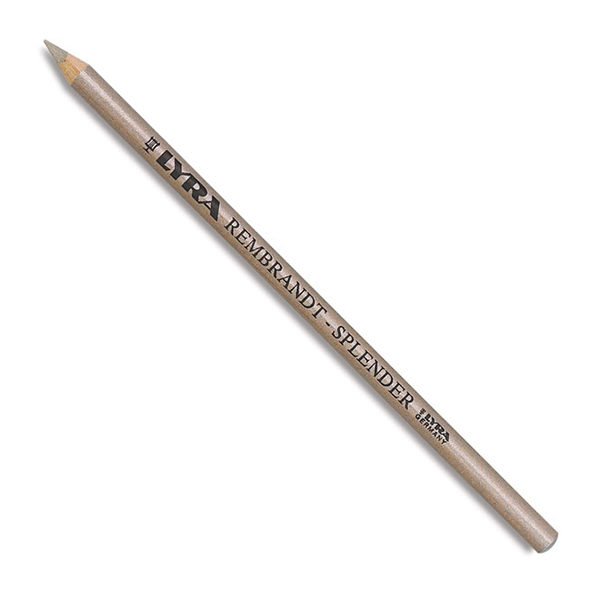
These soft pencils sport a soft colourless lead and I tried both the Derwent Blender and Lyra Splender. By applying the pencil one softens the marks made and a smoother look is achieved. The Lyra Splender also adds a very slight sheen – essentially polishing your work. A fair amount of pressure is required with these tools though and one will have to be careful to protect the tooth of the paper. On the upside, there is hardly any colour transfer. When used with a light hand this is a lovely way of blending areas where precision is required.
Blender Stick
Caran D’Ache comes to the party with their Full Blender Stick. It looks much like a pencil, but reminds me of the crayons we used as kids and after doing some research the reason is obvious. It’s made of a transparent wax and oil-based medium designed to blend your pencil. You can sharpen it or use it sideways to cover a larger area. The result is very similar to that of the blender pencils and again one needs to assert some pressure to get your desired result and colour transfer is negligible.
White Pencil Blending
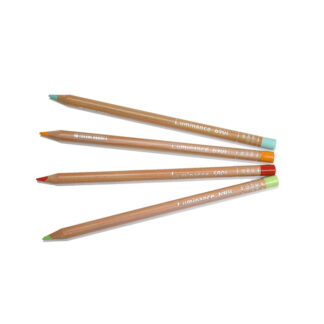
Did you know you can use your white pencil to blend? I tested this using the Caran D’Ache Luminance pencil. I have watched so many artists employ this technique to achieve a deeper richer colour. The white pencil will dull down your colour a bit but will allow many more layers if your pressure is minimal. As the pencil is the same medium as the rest of your drawing it results in a uniform look. A white pencil also softens the pencil strokes, gives a smoother look and many artists swear by this method.
Burnishing
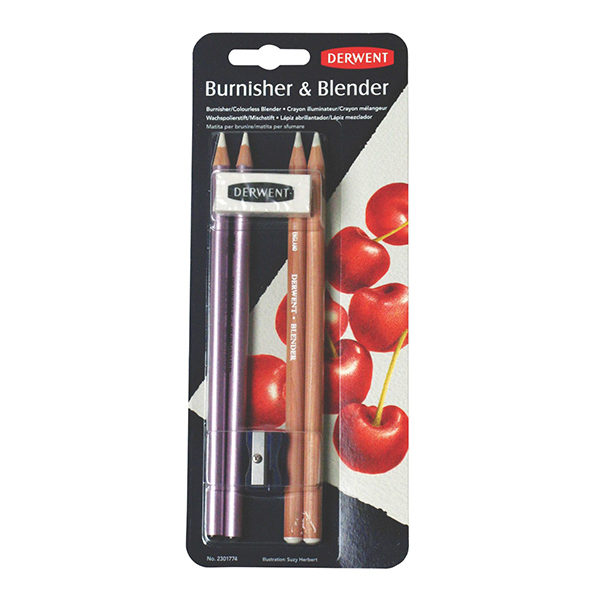
Burnishing is the term for applying pressure with another pencil or tool (I tried the Derwent Burnisher) to blend your layers. This technique is usually saved for your final layers in an effort to ‘finish’ the piece. Burnishing will likely leave a slight sheen as the pigment and waxy layers are blended and depending on how much pressure you apply, little, if any, layering will be possible afterwards. By applying pressure you work the pigment into the tooth of the paper by force, thereby flattening the tooth and achieving a more solid finished surface.
Conclusion
With all of these techniques there are a few points to remember – more pigment on the paper blends together better, so apply a few layers before blending. In the early stages of your drawing avoid pressure-based blending methods as you need to preserve the precious tooth. Make sure your paper can accept wet media before using solvents or blending pens and remember that a ‘heavier’ paper can withstand more manhandling. This means that whether you are burnishing or layering – a heavier paper (120gsm vs 300gsm) will be more forgiving.
Have fun and experiment – different subjects will need different blending methods, but all subjects will definitely benefit from the rich colour created by layering and blending your coloured pencils.
-
 Finesse Colored Pencil Blender Pen – SpeedballR175.00
 -
Drawing Pencils – DerwentR54.00
-
Sansodor (Low Odour Solvent) – Winsor & NewtonR269.00 – R1 845.00
-
Luminance 6901 Colour Pencils Single – Caran d’AcheR95.00
-
Rembrandt Splender Pencil – LyraR20.00
-
Product on saleBurnisher & Blender Set – DerwentR169.00
-
Blender Pens Set – DerwentR119.00