


Description
Schmincke AERO COLOR® Professional Empty Liners are designed to give artists greater control when applying liquid acrylic colour directly from a pen-style applicator. They are particularly useful for creating outlines, signatures, lettering and graphic marks alongside airbrush techniques, allowing artists to move easily between sprayed colour and more precise drawn elements.
The liners are filled with AERO COLOR® Professional colours using the pipette. Remove the cap and valve, then fill the liner to a maximum of two-thirds of its capacity. For reliable colour purity, Schmincke recommends dedicating each liner to a single colour. Colour mixtures can instead be prepared before filling.
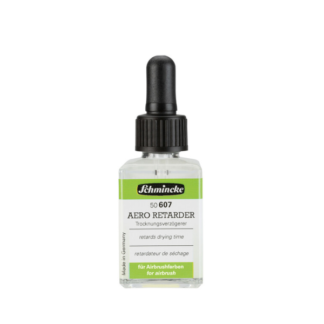
If colour flow needs to be slowed slightly, approximately 5% Schmincke AERO Retarder can be added to the AERO COLOR® colour. This can extend drying time and improve flow behaviour, particularly when working with more controlled applications.
Liner – Replacement Tip Compatibility:
| Replacement Tip | Compatible Liner | Line Width |
|---|---|---|
| No. 1 | Liner No. 1 | 0.8 mm |
| No. 2/4 | Liner No. 2 & No. 4 | 1 mm |
| No. 3 | Liner No. 3 | 2 to 6 mm |
| No. 5 | Liner No. 5 | 2 mm |
| No. 6 | Liner No. 6 | 1 to 15 mm |
When finer or broader marks are required, the appropriate liner can simply be selected for the task. The tips are designed to deliver a controlled flow of liquid colour while maintaining the distinctive characteristics of the chosen liner.
For artists wanting to extend the life of their equipment, Schmincke offers replacement tips for each liner type. The No. 2/4 replacement tip fits both Liner No. 2 and No. 4, while the remaining replacement tips correspond to their individual liner models. Replacement tips are supplied as packs of two.
Replacing the Liner Tip
For Liners No. 1, 3 and 5, carefully remove the cap and valve cap, hold the liner by the valve and pull the tip forwards. Insert the replacement tip and securely reassemble the valve cap and sealing cap.
For Liners No. 2, 4 and 6, remove the sealing cap and carefully unscrew the valve cap. Press the tip and foam ring out of the valve cap, then fit the new tip and foam ring with the tip inserted first. Reassemble the valve cap and replace the sealing cap.
After assembling the liner, shake it while closed and gently press the tip until the colour becomes visible.
Please select the correct liner or replacement tip according to the compatibility guide above.



Reviews
There are no reviews yet.